The Lost Front Map & Battlefield Guide
Read trenches, ruins, and tall grass so A, B, and C stops feeling random.
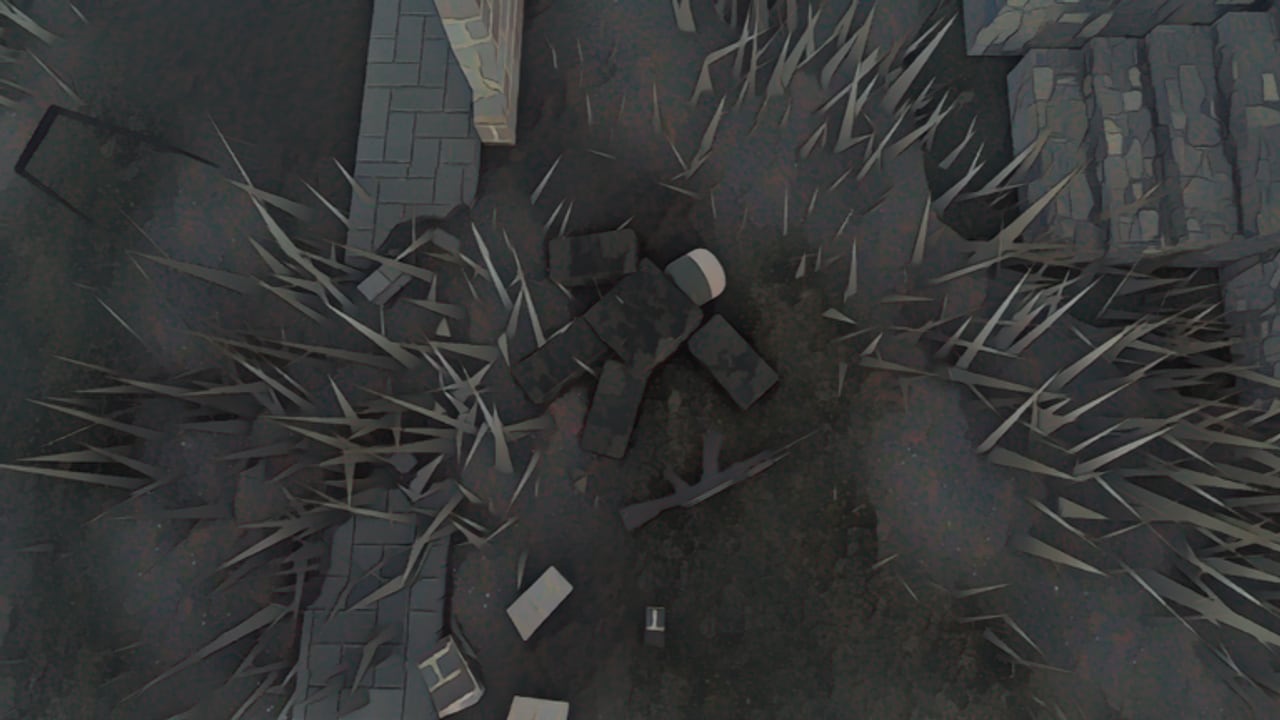
The Lost Front’s battlefield is a trenches-and-ruins sandbox with tall grass pockets, broken sightlines, and three checkpoints that decide spawn pressure. Winning gunfights matters, but winning where you fight matters more. This map guide covers terrain types, A/B/C flow, how spawns flip when you own ground, flank routes that punish campers, and angle habits that keep you alive while you capture. Pair it with Capture Checkpoints for objective timers and with Getting Started if you still need the first-hour checklist.
Type Productions is still developing the experience after the June 17, 2025 launch, so props and balance can shift—watch Updates and Discord (https://discord.gg/w4y6e2pvJZ). Cheaters are permanently banned; map knowledge is the fair advantage.
Terrain: trenches, ruins, tall grass
Trenches are the veins of the map. They give lateral cover, force close engagements, and punish players who sprint past corners without pre-aiming. Move in short bursts, stop before you shoot (accuracy rewards planted feet), and watch green teammate outlines so you do not waste time tracking friendlies—there is no friendly fire, but outline literacy still speeds peeks.
Ruins create vertical and diagonal fights. Broken walls hide Marksman angles and Machine Gunner nests. Clear rooms before you plant on a point; the player who enters a ruin doorway already ADS usually wins. Use ruins to break line of sight when rotating between checkpoints instead of crossing open mud in a straight line.
Tall grass softens silhouettes and buys you a second of surprise on flanks. It is not invisibility. Firing reveals you, and disciplined enemies pre-aim common grass lines. Use grass to approach, not to live forever—once the gunfight starts, reposition to hard cover.
Learn these three textures as languages. Trenches say “close and disciplined.” Ruins say “clear then hold.” Grass says “arrive unseen, leave before you are mapped.”
A / B / C checkpoint flow
Matches revolve around three points. Exact art may label them differently in UI, but players think in A / B / C lanes:
- A — often the early tug near one team’s natural push. Taking A early shortens your next rotate.
- B — the middle magnet. Most decisive fights happen here because ownership swings spawn pressure hardest. Medics thrive supporting stacks near B—see the Medic Class Guide.
- C — the far swing. Greedy C takes without a plan to hold B usually donate the map back.
Healthy flow: secure a near point, reinforce with one defender, collapse mid with numbers, only then threaten the far point. Full capture theory lives on Capture Checkpoints. This page focuses on how the terrain connects those decisions.
Spawn system and snowball
When your team owns nearby checkpoints, you respawn closer to the live fight. That snowball is why map control beats highlight-reel K/D. Losing mid often means longer walks through trenches while the enemy already resets B. After each death:
- Read which points are yours.
- Spawn toward the active objective, not the empty backline ego duel.
- Regroup with at least one teammate before re-entering a contested ruin.
Drone Operators feel spawn distance twice—travel time in FPV balloons when you start from the wrong side. Level toward Rank 16 with How to Level Up Fast, then apply routes from this guide inside Drone Operator.
Flank routes that actually work
Good flanks share traits: covered entry, an exit, and a reason. Examples of useful intent:
- Trench wrap — skip the doorway everyone pre-aims; slide a parallel trench and exit at the defender’s shoulder.
- Ruin second story / broken lip — gain height for one peek, then drop before Marksmen triangulate you.
- Grass crawl into mid — arrive at B from an unexpected berm while Assault distracts frontally.
- Post-capture cut — after you flip a point, immediately cover the enemy’s fastest retake trench instead of celebrating on the zone alone.
Bad flanks: long open sprints, repeating the same grass line three lives in a row, and flanks that abandon a point with zero defenders. If your flank cannot reconnect to an objective within a few seconds, it is sightseeing.
Camping and angle tips
Camping is a tool, not a personality. Hold an angle when:
- Your team needs ten more seconds on a capture tick.
- You are the lone guard on a just-flipped point.
- You are Marksman punishing a known trench mouth.
Leave the angle when:
- Nobody is coming and B is screaming for numbers.
- Enemies start nading or drone-diving your static headglitch.
- You have tunnel vision and lost track of the third point.
Angle hygiene checklist:
- Stop to shoot — hip-fire sprint shots feed the enemy free trades.
- Shoulder swipe — expose the minimum profile around ruin corners.
- Sound + outline — combine audio with green teammate outlines to sort chaos in tall grass.
- One-and-done peeks — especially versus SVD / Marksman energy; re-peek unpredictably.
- Hard cover after shots — grass is for approach, sandbags and trench lips are for reloads.
Watch community sniping breakdowns (including the embed on this page) for broken lines of sight, then verify them in your own matches—patches can nerf a headglitch overnight.
Class-specific map jobs
| Class | Map job |
|---|---|
| Assault | Entry through trenches, clear ruins, plant on points |
| Medic | Pocket behind the stack near B, heal in cover, re-peek support |
| Marksman | Ruin lips and long grass lanes, punish rotates |
| Drone Operator | Scout trench chains, dive clustered B, avoid repeat roofs |
| Machine Gunner | Lock open gaps; hold until Assault finishes the room |
Compare strength by role on the Class Tier List. Gun choice still matters—AKS-74 comfort, AS-VAL close ruins, or later toys from Attachments & New Weapons and Weapons should match the lane you are taking. Loadout pairings live on Best Loadouts.
Practical drill for map sense
- Play one match naming every death: trench corner, ruin door, grass reveal, or open rotate.
- Play one match where you never cross open ground without a teammate distraction.
- Spend one Medic or Assault session living only on B rotations (Medic, Level Up Fast).
- Recheck keybinds on Controls if crouch-peeking still feels clumsy.
- Skim Game Passes only if you want VIP XP while you grind map hours—passes do not teach angles.
Related guides
- Capture Checkpoints — objective rules and defense
- How to Level Up Fast — XP while you learn lanes
- Medic Class Guide — mid-map support
- Drone Operator — airborne pathing
- Controls — stop-to-shoot binds
- Weapons · Weapon Tier List · Attachments
- Guides Hub — full index
Own the terrain first. Guns and classes only express the map you already understand.
Frequently Asked Questions
Quick answers for The Lost Front players.
What are the main terrain types on The Lost Front map?
Trenches for covered close fights, ruins for room clears and vertical peeks, and tall grass for stealthy approaches that still break once you shoot.
Which checkpoint matters most?
B usually decides spawn pressure because it sits in the middle of A/B/C flow. Taking far C while abandoning B often loses the snowball.
How do spawns work with map control?
Owning nearby checkpoints lets your team respawn closer to the fight. Losing mid forces longer trench walks and weaker retakes.
Is camping good on this map?
Short defensive camps on a freshly captured point or Marksman overwatch help. Endless backline camping starves captures and XP.
Any shooting tips that are map-specific?
Stop moving before important shots, use green teammate outlines in chaotic grass, and clear ruin rooms before standing on the capture zone.
Where should I go next after learning the map?
Read Capture Checkpoints for objective timing, Level Up Fast for XP routing, and Drone Operator once you reach Rank 16.